ISO 18489:2015
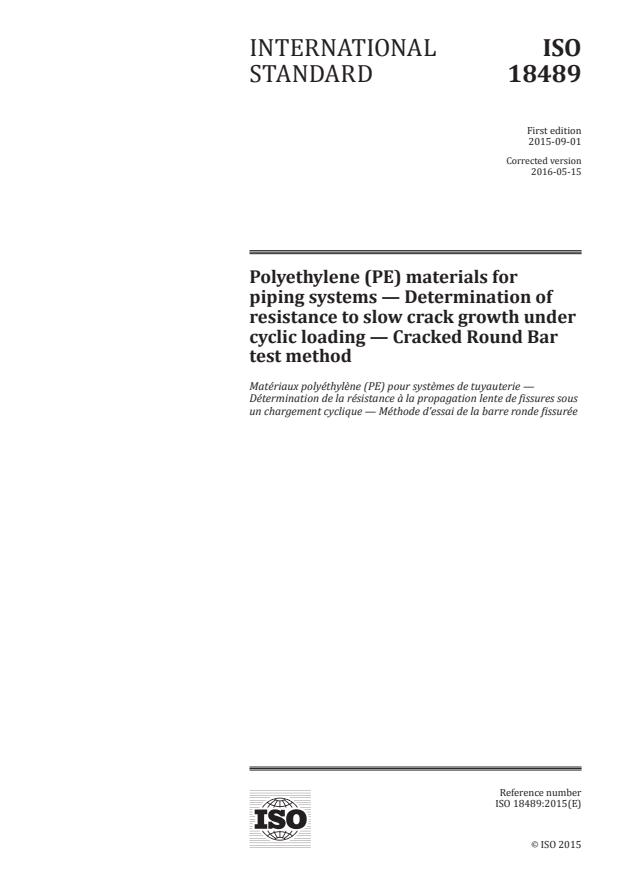
(Main)Polyethylene (PE) materials for piping systems — Determination of resistance to slow crack growth under cyclic loading — Cracked Round Bar test method
Polyethylene (PE) materials for piping systems — Determination of resistance to slow crack growth under cyclic loading — Cracked Round Bar test method
ISO 18489:2015 specifies a method to determine the resistance to slow crack growth (SCG) of polyethylene materials, pipes, and fittings. The test is applicable to samples taken from compression moulded sheet or extruded pipes and injection moulded fittings of suitable thickness. ISO 18489:2015 provides a method that is suitable for an accelerated fracture-mechanics characterization at ambient temperatures of 23 °C of different polyethylene grades, especially for PE 80 and PE 100 types for pipe applications. NOTE This test method could be adapted for other thermoplastics materials by developing the procedure using different test parameters.
Matériaux polyéthylène (PE) pour systèmes de tuyauterie — Détermination de la résistance à la propagation lente de fissures sous un chargement cyclique — Méthode d'essai de la barre ronde fissurée
General Information
- Status
- Published
- Publication Date
- 01-Sep-2015
- Technical Committee
- ISO/TC 138/SC 5 - General properties of pipes, fittings and valves of plastic materials and their accessories -- Test methods and basic specifications
- Drafting Committee
- ISO/TC 138/SC 5/WG 20 - Slow crack growth (SCG)
- Current Stage
- 9092 - International Standard to be revised
- Start Date
- 22-Feb-2024
- Completion Date
- 12-Feb-2026
Relations
- Effective Date
- 09-Feb-2026
- Effective Date
- 09-Feb-2026
- Effective Date
- 09-Feb-2026
- Effective Date
- 09-Feb-2026
- Effective Date
- 09-Feb-2026
- Effective Date
- 09-Feb-2026
- Effective Date
- 09-Feb-2026
Overview
ISO 18489:2015 specifies the Cracked Round Bar (CRB) test method to determine resistance to slow crack growth (SCG) in polyethylene (PE) materials for piping systems. The standard defines an accelerated fracture‑mechanics test performed at ambient temperature (23 °C) suitable for PE pipe grades-especially PE 80 and PE 100-and for specimens taken from compression‑moulded sheets, extruded pipes and injection‑moulded fittings. The method can be adapted for other thermoplastics by adjusting test parameters.
Key topics and technical requirements
- Test principle: cyclic tensile loading with a constant load range on a cylindrical specimen containing a circumferential razor‑sharp notch to promote crack initiation and SCG to final failure. Final result is failure cycles (Nf) as a function of initial crack length and stress range.
- Specimen geometry: preferred specimen diameter D = 14 mm and length L = 80–100 mm. Target initial crack length a* = 1.50 +0.15/‑0.0 mm, producing a target initial ligament diameter D*.
- Notching: notch tip radius < 10 µm (razor blade recommended) and notch location ≥ 20 mm from grips to avoid clamping effects.
- Loading and waveform: sinusoidal load control with maximum and minimum loads constant to ±1%. Load‑cycle frequency shall not exceed 10 Hz (accuracy 1%); reduce to 5 Hz or 1 Hz if hysteretic heating is suspected.
- Measurement accuracy: crack length measurement with a microscope or equivalent to 0.01 mm. Temperature control for tests other than 23 ± 2 °C.
- Apparatus: servo‑hydraulic or mechanically driven cyclic test machines, grips for cylindrical specimens, notching apparatus, temperature chamber (if required).
- Data and reporting: record cycles to failure, initial crack length, stress range and test conditions for fracture‑mechanical characterization.
Applications and users
ISO 18489:2015 is used for:
- Material ranking and pre‑selection in pipe system design
- QA/QC and type‑approval testing of PE pipes and fittings
- R&D for new PE formulations and compound optimization
- Failure analysis and lifetime prediction studies using accelerated SCG data
Typical users: pipe manufacturers, materials scientists, test laboratories, R&D teams, certification bodies, and regulators concerned with long‑term performance of PE piping systems.
Related standards
- ISO 291 - Plastics: standard atmospheres for conditioning and testing
- ISO 2818 - Plastics: preparation of test specimens by machining
ISO 18489:2015 provides a practical, accelerated CRB test for assessing SCG resistance of polyethylene piping materials, enabling faster, application‑relevant evaluation of PE 80/PE 100 grades without elevated temperatures or stress‑cracking liquids.
Get Certified
Connect with accredited certification bodies for this standard

Institut za varilstvo d.o.o. (Welding Institute)
Slovenia's leading welding institute since 1952. ISO 3834, EN 1090, pressure equipment certification, NDT personnel, welder qualification. Only IIW Au
Sponsored listings
Frequently Asked Questions
ISO 18489:2015 is a standard published by the International Organization for Standardization (ISO). Its full title is "Polyethylene (PE) materials for piping systems — Determination of resistance to slow crack growth under cyclic loading — Cracked Round Bar test method". This standard covers: ISO 18489:2015 specifies a method to determine the resistance to slow crack growth (SCG) of polyethylene materials, pipes, and fittings. The test is applicable to samples taken from compression moulded sheet or extruded pipes and injection moulded fittings of suitable thickness. ISO 18489:2015 provides a method that is suitable for an accelerated fracture-mechanics characterization at ambient temperatures of 23 °C of different polyethylene grades, especially for PE 80 and PE 100 types for pipe applications. NOTE This test method could be adapted for other thermoplastics materials by developing the procedure using different test parameters.
ISO 18489:2015 specifies a method to determine the resistance to slow crack growth (SCG) of polyethylene materials, pipes, and fittings. The test is applicable to samples taken from compression moulded sheet or extruded pipes and injection moulded fittings of suitable thickness. ISO 18489:2015 provides a method that is suitable for an accelerated fracture-mechanics characterization at ambient temperatures of 23 °C of different polyethylene grades, especially for PE 80 and PE 100 types for pipe applications. NOTE This test method could be adapted for other thermoplastics materials by developing the procedure using different test parameters.
ISO 18489:2015 is classified under the following ICS (International Classification for Standards) categories: 23.040.20 - Plastics pipes; 23.040.45 - Plastics fittings. The ICS classification helps identify the subject area and facilitates finding related standards.
ISO 18489:2015 has the following relationships with other standards: It is inter standard links to EN 1555-2:2025, EN 1555-1:2021, EN 1555-1:2025, EN 12201-1:2024, EN ISO 17855-2:2024, EN 1555-2:2021, EN 12201-2:2024. Understanding these relationships helps ensure you are using the most current and applicable version of the standard.
ISO 18489:2015 is available in PDF format for immediate download after purchase. The document can be added to your cart and obtained through the secure checkout process. Digital delivery ensures instant access to the complete standard document.
Standards Content (Sample)
INTERNATIONAL ISO
STANDARD 18489
First edition
2015-09-01
Corrected version
2016-05-15
Polyethylene (PE) materials for
piping systems — Determination of
resistance to slow crack growth under
cyclic loading — Cracked Round Bar
test method
Matériaux polyéthylène (PE) pour systèmes de tuyauterie —
Détermination de la résistance à la propagation lente de fissures sous
un chargement cyclique — Méthode d’essai de la barre ronde fissurée
Reference number
©
ISO 2015
© ISO 2015, Published in Switzerland
All rights reserved. Unless otherwise specified, no part of this publication may be reproduced or utilized otherwise in any form
or by any means, electronic or mechanical, including photocopying, or posting on the internet or an intranet, without prior
written permission. Permission can be requested from either ISO at the address below or ISO’s member body in the country of
the requester.
ISO copyright office
Ch. de Blandonnet 8 • CP 401
CH-1214 Vernier, Geneva, Switzerland
Tel. +41 22 749 01 11
Fax +41 22 749 09 47
copyright@iso.org
www.iso.org
ii © ISO 2015 – All rights reserved
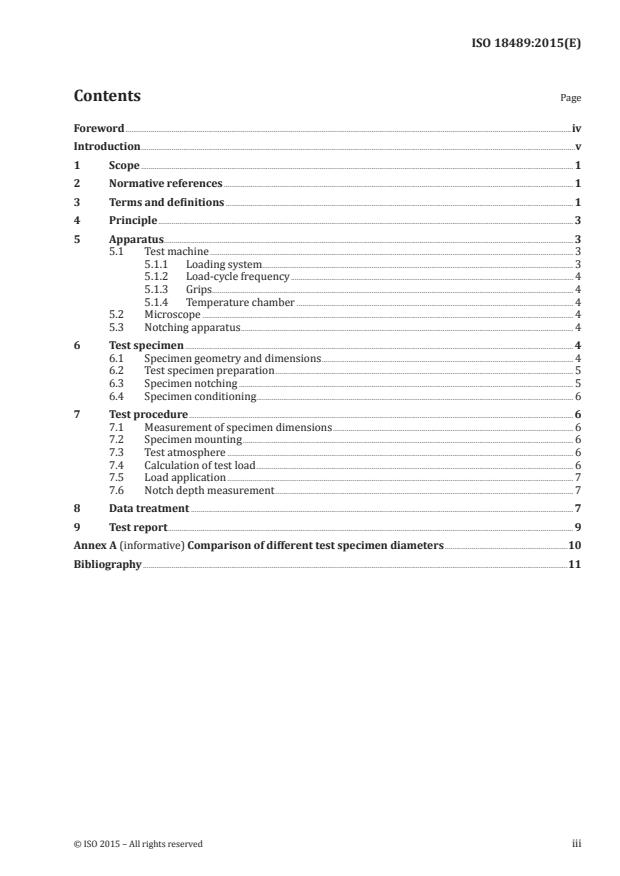
Contents Page
Foreword .iv
Introduction .v
1 Scope . 1
2 Normative references . 1
3 Terms and definitions . 1
4 Principle . 3
5 Apparatus . 3
5.1 Test machine . 3
5.1.1 Loading system. 3
5.1.2 Load-cycle frequency . 4
5.1.3 Grips . . . 4
5.1.4 Temperature chamber . 4
5.2 Microscope . 4
5.3 Notching apparatus . 4
6 Test specimen . 4
6.1 Specimen geometry and dimensions . 4
6.2 Test specimen preparation . 5
6.3 Specimen notching . 5
6.4 Specimen conditioning . . 6
7 Test procedure . 6
7.1 Measurement of specimen dimensions . 6
7.2 Specimen mounting . 6
7.3 Test atmosphere . 6
7.4 Calculation of test load . 6
7.5 Load application . 7
7.6 Notch depth measurement . 7
8 Data treatment . 7
9 Test report . 9
Annex A (informative) Comparison of different test specimen diameters .10
Bibliography .11
Foreword
ISO (the International Organization for Standardization) is a worldwide federation of national standards
bodies (ISO member bodies). The work of preparing International Standards is normally carried out
through ISO technical committees. Each member body interested in a subject for which a technical
committee has been established has the right to be represented on that committee. International
organizations, governmental and non-governmental, in liaison with ISO, also take part in the work.
ISO collaborates closely with the International Electrotechnical Commission (IEC) on all matters of
electrotechnical standardization.
The procedures used to develop this document and those intended for its further maintenance are
described in the ISO/IEC Directives, Part 1. In particular the different approval criteria needed for the
different types of ISO documents should be noted. This document was drafted in accordance with the
editorial rules of the ISO/IEC Directives, Part 2 (see www.iso.org/directives).
Attention is drawn to the possibility that some of the elements of this document may be the subject of
patent rights. ISO shall not be held responsible for identifying any or all such patent rights. Details of
any patent rights identified during the development of the document will be in the Introduction and/or
on the ISO list of patent declarations received (see www.iso.org/patents).
Any trade name used in this document is information given for the convenience of users and does not
constitute an endorsement.
For an explanation on the meaning of ISO specific terms and expressions related to conformity
assessment, as well as information about ISO’s adherence to the WTO principles in the Technical
Barriers to Trade (TBT) see the following URL: Foreword - Supplementary information
The committee responsible for this document is ISO/TC 138, Plastics pipes, fittings and valves for the
transport of fluids, Subcommittee SC 5, General properties of pipes, fittings and valves of plastic materials
and their accessories — Test methods and basic specifications.
This corrected version of ISO 18489:2015 incorporates the following corrections.
Formula (2) has been revised.
Formulae (A.1), (A.2) and (A.3) have been revised, as well as the corresponding explanation of symbols.
iv © ISO 2015 – All rights reserved
Introduction
Knowledge about the resistance to long-term failure mechanisms as a result of crack initiation and
slow crack growth (SCG) is important for the ranking and pre-selection of thermoplastic materials,
especially for long-term applications such as pipes and fittings made of polyethylene. Several tests to
determine the relevant failure mechanisms are available today where elevated temperatures and also
the combination with stress cracking liquids are used to decrease the time frame for testing.
However, developments in modern raw materials have led to a significant increase of resistance of
polyethylene to crack initiation and SCG so that testing with available methods exceeds practical time
frames. Therefore, new acceleration methods, preferably at application relevant temperatures and
without additional time reducing liquids, are required.
This test method achieves a significant decrease of testing time even at ambient temperatures of 23 °C.
This is more relevant to the temperature range of many applications and testing at this temperature
does not change the structural status of the polymer. Acceleration of material testing is achieved by the
specimen geometry and the cyclic loading regime to result in completion of testing in a relatively short
[2] [3] [4]
time. , ,
INTERNATIONAL STANDARD ISO 18489:2015(E)
Polyethylene (PE) materials for piping systems —
Determination of resistance to slow crack growth under
cyclic loading — Cracked Round Bar test method
1 Scope
This International Standard specifies a method to determine the resistance to slow crack growth (SCG)
of polyethylene materials, pipes, and fittings. The test is applicable to samples taken from compression
moulded sheet or extruded pipes and injection moulded fittings of suitable thickness.
This International Standard provides a method that is suitable for an accelerated fracture-mechanics
characterization at ambient temperatures of 23 °C of different polyethylene grades, especially for PE 80
and PE 100 types for pipe applications.
NOTE This test method could be adapted for other thermoplastics materials by developing the procedure
using different test parameters.
2 Normative references
The following documents, in whole or in part, are normatively referenced in this document and are
indispensable for its application. For dated references, only the edition cited applies. For undated
references, the latest edition of the referenced document (including any amendments) applies.
ISO 291, Plastics — Standard atmospheres for conditioning and testing
ISO 2818, Plastics — Preparation of test specimens by machining
3 Terms and definitions
For the purposes of this document, the following terms and definitions apply.
3.1
crack length
a
depth of the crack at any time during a test measured from the specimen surface to the crack tip
Note 1 to entry: It is expressed in millimetres (mm).
3.2
cycle
N
smallest segment of a load-time or stress-time function which is repeated periodically
3.3
failure cycle number
N
f
total number of cycles (3.2) from the beginning until failure of the test specimen
3.4
frequency
f
number of cycles (3.2) within one second
Note 1 to entry: It is expressed in hertz (Hz).
3.5
initial crack length
a
ini
measured depth of the crack from the specimen surface through the crack tip at the beginning of the test
Note 1 to entry: It is expressed in millimetres (mm).
3.6
initial ligament diameter
D
ini
inner diameter of the cylindrical specimen after notching
Note 1 to entry: It is expressed in millimetres (mm).
Note 2 to entry: It is calculated by
DD=−2⋅a
iniini
3.7
load ratio
R
ratio of the minimum to the maximum load (3.9) in one cycle (3.2)
Note 1 to entry: It is calculated by
F
min
R=
F
max
3.8
load range
ΔF
difference between the maximum and minimum load (3.10), in Newtons (N), in one cycle (3.2)
3.9
maximum load
F
max
highest value of the applied load, in Newtons (N), in one cycle (3.2)
3.10
minimum load
F
min
lowest value of the applied load, in Newtons (N), in one cycle (3.2)
3.11
notch distance
L
min
minimum distance from notch to clamping system
Note 1 to entry: It is expressed in millimetres (mm).
3.12
target initial crack length
a *
ini
target depth of the crack from the specimen surface through the crack tip after notching
Note 1 to entry: It is expressed in millimetres (mm).
2 © ISO 2015 – All rights reserved
3.13
target initial ligament diameter
D *
ini
target inner diameter of the cylindrical specimen after notching
Note 1 to entry: It is expressed in millimetres (mm).
3.14
target stress range
Δσ *
target difference between the maximum and minimum stress at the beginning of the test
Note 1 to entry: It is expressed in megapascals (MPa).
3.15
specimen diameter
D
diameter of the cylindrical specimen
Note 1 to entry: It is expressed in millimetres (mm).
3.16
specimen length
L
total length of the test specimen
Note 1 to entry: It is expressed in millimetres (mm).
3.17
stress range
Δσ
applied difference between the maximum and minimum stress after notching at the beginning of the test
Note 1 to entry: It is expressed in megapascals (MPa).
3.18
waveform
shape of the load-time curve within a single cycle (3.2)
4 Principle
A cyclic tensile test with constant load range is imposed on a cylindrical specimen under suitable test
conditions within the stress range where SCG is achieved. A circumferential notch is machined in the
centre of the test specimen to enable crack initiation and SCG to final failure of the specimen. The
number of cycles until final failure, N
...


Questions, Comments and Discussion
Ask us and Technical Secretary will try to provide an answer. You can facilitate discussion about the standard in here.
Loading comments...