ISO 18115-2:2021
(Main)Surface chemical analysis — Vocabulary — Part 2: Terms used in scanning-probe microscopy
Surface chemical analysis — Vocabulary — Part 2: Terms used in scanning-probe microscopy
This document defines terms for surface chemical analysis. ISO 18115-1 covers general terms and those used in spectroscopy while this document covers terms used in scanning probe microscopy.
Analyse chimique des surfaces — Vocabulaire — Partie 2: Termes utilisés en microscopie à sonde à balayage
General Information
Relations
Standards Content (Sample)
INTERNATIONAL ISO
STANDARD 18115-2
Third edition
2021-12
Surface chemical analysis —
Vocabulary —
Part 2:
Terms used in scanning-probe
microscopy
Analyse chimique des surfaces — Vocabulaire —
Partie 2: Termes utilisés en microscopie à sonde à balayage
Reference number
© ISO 2021
All rights reserved. Unless otherwise specified, or required in the context of its implementation, no part of this publication may
be reproduced or utilized otherwise in any form or by any means, electronic or mechanical, including photocopying, or posting on
the internet or an intranet, without prior written permission. Permission can be requested from either ISO at the address below
or ISO’s member body in the country of the requester.
ISO copyright office
CP 401 • Ch. de Blandonnet 8
CH-1214 Vernier, Geneva
Phone: +41 22 749 01 11
Email: copyright@iso.org
Website: www.iso.org
Published in Switzerland
ii
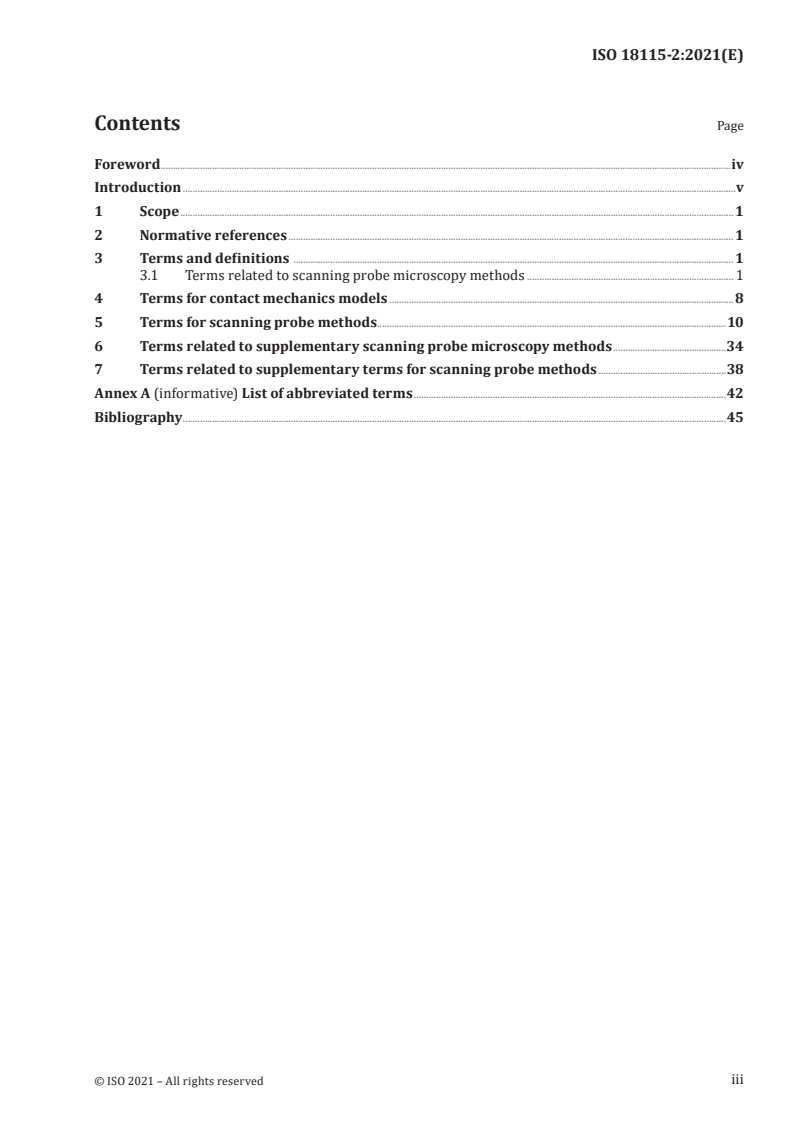
Contents Page
Foreword .iv
Introduction .v
1 Scope . 1
2 Normative references . 1
3 Terms and definitions . 1
3.1 Terms related to scanning probe microscopy methods . 1
4 Terms for contact mechanics models .8
5 Terms for scanning probe methods .10
6 Terms related to supplementary scanning probe microscopy methods .34
7 Terms related to supplementary terms for scanning probe methods .38
Annex A (informative) List of abbreviated terms .42
Bibliography .45
iii
Foreword
ISO (the International Organization for Standardization) is a worldwide federation of national standards
bodies (ISO member bodies). The work of preparing International Standards is normally carried out
through ISO technical committees. Each member body interested in a subject for which a technical
committee has been established has the right to be represented on that committee. International
organizations, governmental and non-governmental, in liaison with ISO, also take part in the work.
ISO collaborates closely with the International Electrotechnical Commission (IEC) on all matters of
electrotechnical standardization.
The procedures used to develop this document and those intended for its further maintenance are
described in the ISO/IEC Directives, Part 1. In particular, the different approval criteria needed for the
different types of ISO documents should be noted. This document was drafted in accordance with the
editorial rules of the ISO/IEC Directives, Part 2 (see www.iso.org/directives).
Attention is drawn to the possibility that some of the elements of this document may be the subject of
patent rights. ISO shall not be held responsible for identifying any or all such patent rights. Details of
any patent rights identified during the development of the document will be in the Introduction and/or
on the ISO list of patent declarations received (see www.iso.org/patents).
Any trade name used in this document is information given for the convenience of users and does not
constitute an endorsement.
For an explanation of the voluntary nature of standards, the meaning of ISO specific terms and
expressions related to conformity assessment, as well as information about ISO's adherence to
the World Trade Organization (WTO) principles in the Technical Barriers to Trade (TBT), see
www.iso.org/iso/foreword.html.
This document was prepared by Technical Committee ISO/TC 201, Surface chemical analysis,
Subcommittee SC 1, Terminology.
This third edition cancels and replaces the second edition (ISO 18115-2:2013), of which it constitutes a
minor revision.
The changes to the previous edition are as follows:
— the term "Kelvin-force microscopy" has been replaced with "Kelvin-probe force microscopy" and,
where it occurred, the term "scanning-probe microscopy" has been replaced with "scanning probe
microscopy".
A list of all parts in the ISO 18115 series can be found on the ISO website.
Any feedback or questions on this document should be directed to the user’s national standards body. A
complete listing of these bodies can be found at www.iso.org/members.html.
iv
Introduction
Surface chemical analysis is an important area which involves interactions between people with
different backgrounds and from different fields. Those conducting surface chemical analysis might be
materials scientists, chemists, or physicists and might have a background that is primarily experimental
or primarily theoretical. Those making use of the surface chemical data extend beyond this group into
other disciplines.
With the present techniques of surface chemical analysis, compositional information is obtained for
regions close to a surface (generally within 20 nm) and composition-versus-depth information is
obtained with surface analytical techniques as surface layers are removed. The terms covered in this
document relate to scanning probe microscopy. The surface analytical terms covered in ISO 18115-1
extend from the techniques of electron spectroscopy and mass spectrometry to optical spectrometry
and X-ray analysis. Concepts for these techniques derive from disciplines as widely ranging as nuclear
physics and radiation science to physical chemistry and optics.
The wide range of disciplines and the individualities of national usages have led to different meanings
being attributed to particular terms and, again, different terms being used to describe the same concept.
To avoid the consequent misunderstandings and to facilitate the exchange of information, it is essential
to clarify the concepts, to establish the correct terms for use, and to establish their definitions.
The terms are given in alphabetical order, classified under the following:
— Clause 3: Definitions of the scanning probe microscopy methods;
— Clause 4: Acronyms and terms for contact mechanics models;
— Clause 5: Definitions of terms for scanning probe methods;
— Clause 6: Definitions of supplementary scanning probe microscopy methods;
— Clause 7: Definitions of supplementary terms for scanning probe methods.
In the terms in Clause 3, note that the final “M” or final “S” in the acronyms, given as “microscopy” or
“spectroscopy”, may also mean “microscope” or “spectrometer”, respectively, depending on the context.
For the definition relating to the microscope or spectrometer, replace the words “a method” by the
words “an instrument” where that appears.
In contact mechanics, covered in Clause 4, the basic theories are often referenced by acronyms. To avoid
confusion, these acronyms are defined below. These models all assume that the materials in contact are
homogeneous and isotropic, and have a linear elastic constitutive behaviour. Various contact models
for inhomogeneous, anisotropic, nonlinear, viscoelastic, elastoplastic, and other materials have been
derived and can be found in the literature.
Many terms concerned with profilometry, or more correctly, surface texture measuring instruments,
may be found in ISO 3274 and ISO 4287. ISO 3274 specifies the properties of the instrument that
influence profile evaluation and provides basic considerations of the specification of contact (stylus)
instruments (profile meter and profile recorder) whereas ISO 4287 concerns some issues involving
surface texture.
Those interested in a more detailed understanding of profilometry or surface texture measuring
instruments should consult ISO 3274, ISO 4287, ISO 25178 and other referenced documents.
v
INTERNATIONAL STANDARD ISO 18115-2:2021(E)
Surface chemical analysis — Vocabulary —
Part 2:
Terms used in scanning-probe microscopy
1 Scope
This document defines terms for surface chemical analysis. ISO 18115-1 covers general terms and those
used in spectroscopy while this document covers terms used in scanning probe microscopy.
2 Normative references
There are no normative references in this document.
3 Terms and definitions
ISO and IEC maintain terminological databases for use in standardization at the following addresses:
— ISO Online browsing platform: available at https:// www .iso .org/ obp
— IEC Electropedia: available at https:// www .electropedia .org/
3.1 Terms related to scanning probe microscopy methods
3.1.1
apertureless Raman microscopy
method of microscopy involving the acquisition of Raman spectroscopic data utilizing
a near-field (5.88) optical source and based upon a metal tip (5.120) in close proximity to the sample
surface illuminated with suitably polarized light
3.1.2
atomic-force microscopy
AFM
DEPRECATED: scanning force microscopy
DEPRECATED: SFM
method for imaging surfaces by mechanically scanning their surface contours, in which the deflection
of a sharp tip (5.120) sensing the surface forces, mounted on a compliant cantilever (5.18), is monitored
Note 1 to entry: AFM can provide a quantitative height image (5.69) of both insulating and conducting surfaces.
Note 2 to entry: Some AFM instruments move the sample in the x-, y- and z-directions while keeping the tip
position constant and others move the tip while keeping the sample position constant.
Note 3 to entry: AFM can be conducted in vacuum, a liquid, a controlled atmosphere, or air. Atomic resolution
may be attainable with suitable samples, with sharp tips, and by using an appropriate imaging mode.
Note 4 to entry: Many types of force can be measured, such as the normal forces (5.91) or the lateral (5.77), friction
(5.62), or shear force. When the latter is measured, the technique is referred to as lateral (3.1.13), frictional
(3.1.11), or shear force microscopy (3.1.37). This generic term encompasses all of the types of force microscopy
listed in Annex A.
Note 5 to entry: AFMs can be used to measure surface normal forces at individual points in the pixel array used
for imaging.
Note 6 to entry: For typical AFM tips with radii < 100 nm, the normal force should be less than about 0,1 μN,
depending on the sample material, or irreversible surface deformation and excessive tip wear occur.
3.1.3
chemical-force microscopy
CFM
LFM (3.1.13) or AFM (3.1.2) mode in which the deflection of a sharp probe tip (5.120), functionalized to
provide interaction forces with specific molecules, is monitored
Note 1 to entry: LFM is the most popularly used mode.
3.1.4
conductive-probe atomic-force microscopy
CPAFM
DEPRECATED: CAFM
DEPRECATED: C-AFM
AFM (3.1.2) mode in which a conductive probe (5.109) is used to measure both topography and
electric current between the tip (5.120) and the sample
Note 1 to entry: CPAFM is a secondary imaging mode derived from contact AFM that characterizes conductivity
variations across medium- to low-conducting and semiconducting materials. Typically, a DC bias is applied to the
tip, and the sample is held at ground potential. While the z feedback signal is used to generate a normal-contact
AFM topography image (5.69), the current passing between the tip and the sample is measured to generate the
conductive AFM image.
3.1.5
current-imaging tunnelling spectroscopy
CITS
method in which the STM tip is held at a constant height above the surface, while the bias
voltage, V, is scanned and the tunnelling current, I, is measured and mapped
Note 1 to entry: The constant height is usually maintained by gating the feedback loop so that it is only active for
some proportion of the time; during the remaining time, the feedback loop is switched off and the applied tip bias
is ramped and the current is measured.
Note 2 to entry: See I-V spectroscopy (5.74).
3.1.6
dynamic-mode AFM
dynamic-force microscopy
DFM
AFM (3.1.2) mode in which the relative positions of the probe tip (5.120) and sample vary in a
sinusoidal manner at each point in the image (5.69)
Note 1 to entry: The sinusoidal oscillation is usually in the form of a vibration in the z-direction and is often
driven at a frequency close to, and sometimes equal to, the cantilever resonance frequency.
Note 2 to entry: The signal measured can be the amplitude, the phase shift, or the resonance frequency shift of
the cantilever.
3.1.7
electrostatic-force microscopy
DEPRECATED: electric-force microscopy
AFM (3.1.2) mode in which a conductive probe (5.109) is used to map both topography and
electrostatic force between the tip (5.120) and the sample surface
3.1.8
electrochemical atomic-force microscopy
EC-AFM
AFM (3.1.2) mode in which a conductive probe (5.109) is used in an electrolyte solution to
measure both topography and electrochemical current
...


Questions, Comments and Discussion
Ask us and Technical Secretary will try to provide an answer. You can facilitate discussion about the standard in here.